

Looking for a hassle-free, natural-looking way to fill out your sparse, wispy eyebrows? Microblading may be the solution you’ve been waiting for.
Maybe those brows of yours have been damaged by stress, a burn, or years of being messed with. Or perhaps you wish they were just a little fuller or more shapely. Either way, it all comes down to the same thing: you want more voluptuous eyebrows.
Now imagine never having to use makeup to define your eyebrows, and waking up with the pair you’ve always dreamed of, every morning — that’s what microblading promises.
What Is Microblading?
“Microblading – also known as eyebrow embroidery or eyebrow enhancement – is an extremely meticulous procedure that gives the eyebrows a fuller, more defined appearance,” says Vjera Zec, a certified micro-pigmentation expert based in New Jersey.
“Each individual hair is hand drawn using a special microblading pen, creating even, natural lines that blend in with the patient’s real hairs,” says Zec. “Using a fine blade, pigment is deposited beneath the top layer of skin, thereby achieving eyebrows that remain perfect without daily maintenance.”
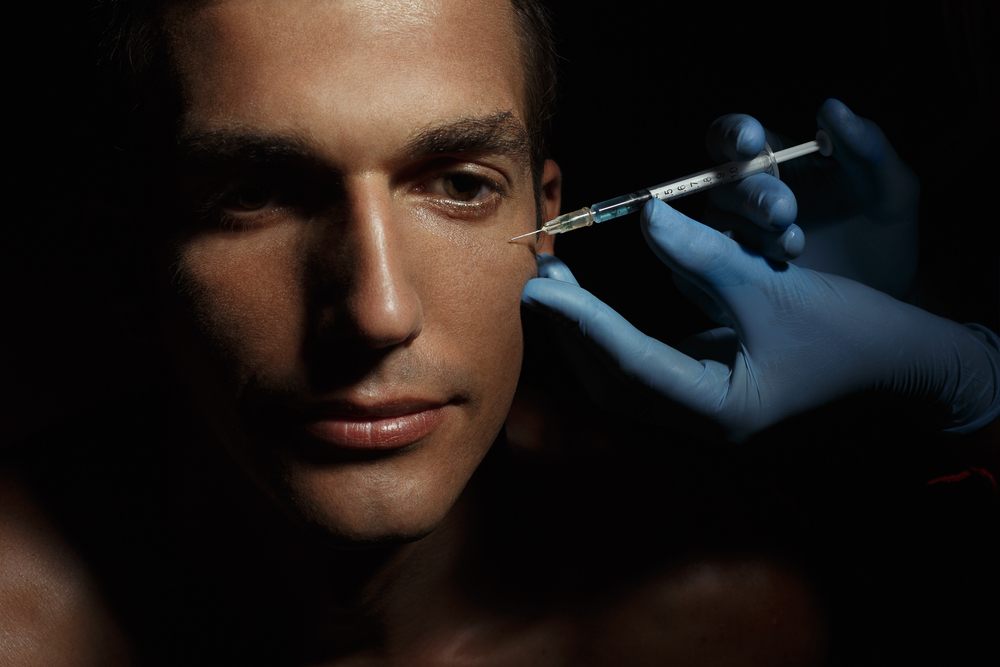
If microblading sounds a lot like getting a tattoo, it’s because it is. And although that may sound a little intense, the truth is that permanent makeup is in fact a very safe and controlled procedure. Allow us to lay your fears to rest and walk you through the procedure.
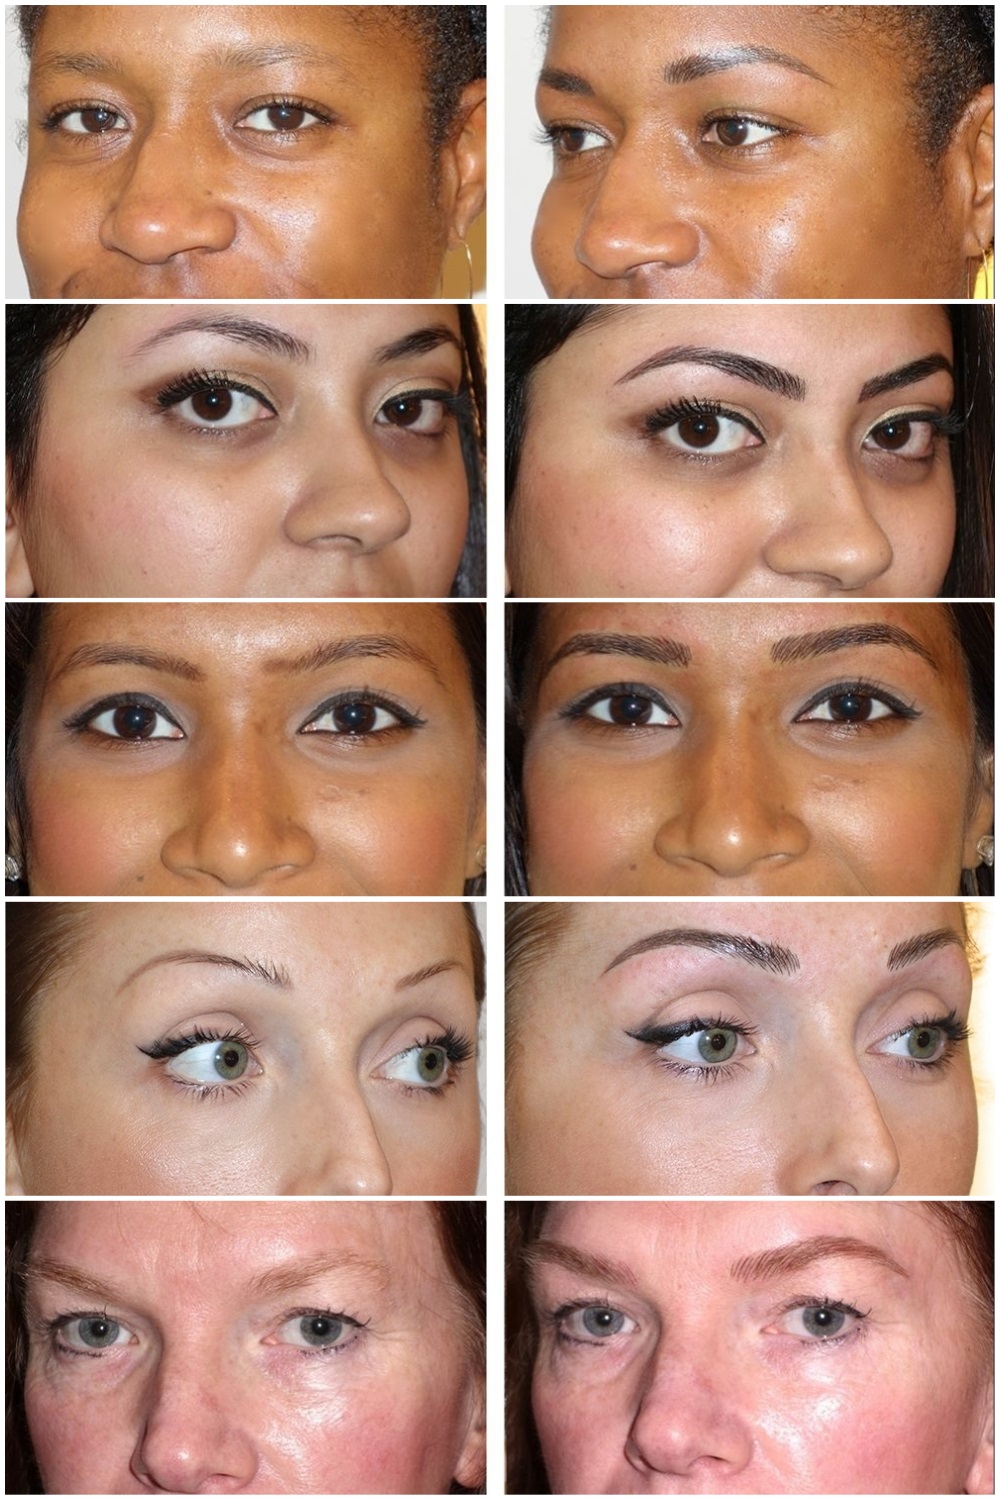
Above: before and after eyebrow microblading, credits Tina Davies.
Is Eyebrow Microblading Right for Me?
Microblading is great for women who want fuller, more defined eyebrows, but don’t have the patience (or skills) to draw them in with pencils and brushes every morning.
However, there are certain conditions that could prevent you from undergoing this transformative procedure. Ask your physician first if any of the following apply to you.
- You’re pregnant or breastfeeding.
- You have diabetes, cancer, epilepsy, or an autoimmune disorder.
- You’re regularly taking medication that thins the blood.
- You have a skin disease that affects the area in question.
- You’ve recently had an organ transplant.
- You have a heart condition.
- You have circulatory or blood disorders.
- You’re sick with a cold or the flu.
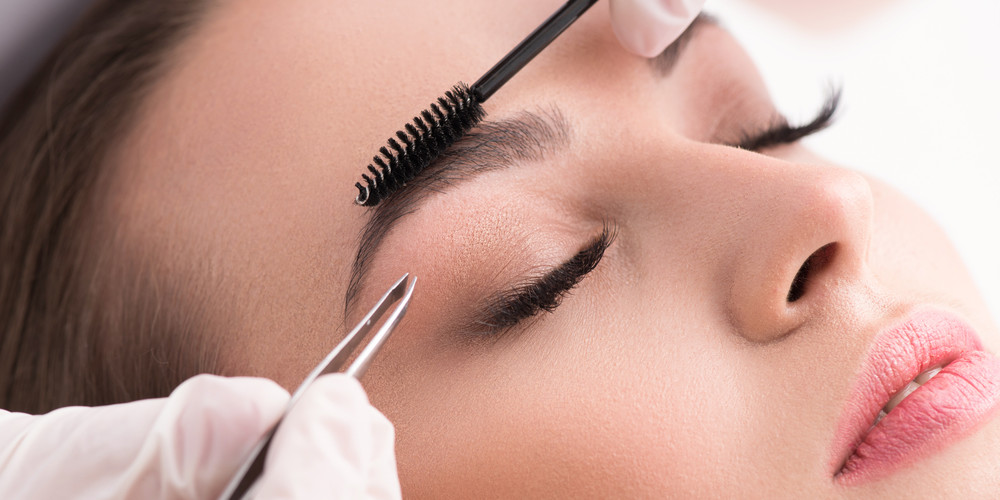
Choose Your Technician Wisely
Although it doesn’t occur frequently, infection is the number one complication eyebrow microblading patients suffer. This is especially the case in places where safety and sterility standards are ignored.
As with any cosmetic procedure, make sure the facility you choose is licensed and professional. Don’t just chase the best prices. Microblading is closer to a medical procedure than a spa treatment — technicians who perform it need to be licensed cosmetic tattoo specialists.
In other words, the person who waxes your brows doesn’t necessarily have the knowledge required to microblade (no matter what they might promise you).
RELATED: Just Browsing: The Best Eyebrow Enhancement Techniques
Your First Microblading Consultation
Once you’ve chosen your practitioner, it’s time to talk eyebrows and learn just what microblading can do for you. The consultation is a no pressure, no commitment appointment where you talk about whether or not you’re a good candidate for microblading and, if so, how best to move forward.
Your technician will take a close look at your brows and together you’ll decide which changes you want to make. It’s important to note that this is a customizable process, and that not everyone’s eyebrow microblading experience is going to be the same. Your technician will work with you to design a brow that fits both your facial structure and beauty goals.
You’ll discuss the process, follow-up appointments, and pricing. If the cost is what’s causing you the most anxiety, fear not: although you can expect to pay around $700 to $900 for the procedure, consider how much money (and time!) you’ll save on makeup in the coming few years.
Preparing for the Procedure
There are a few important guidelines for you to follow before the procedure. These will help yield the most natural-looking results and speed up your recovery.
- Do not tweeze or wax your eyebrows within a week of the procedure. The technician needs to see their natural shape and fullness.
- Do not arrive tanned or sunburned. The technician needs to know your natural skin tone for proper color matching.
- Avoid drinking caffeine and alcohol or working out within 24 hours of the procedure.
- Do not take aspirin or ibuprofen before the procedure. It thins the blood and may cause excess bleeding.
It’s very important that you go into your session looking like the natural you. The primary goal of microblading is to make eyebrow care hassle-free. If you arrive with waxed brows and your technician uses that as the standard on which to define your new look, then you had better prepare to keep waxing those brows if you don’t want things to look weird when they start growing out.
What to Expect During the Procedure
The date has arrived, and you’re about to get the best and most low-maintenance eyebrows you’ve ever had. This is what you can expect, step by step.
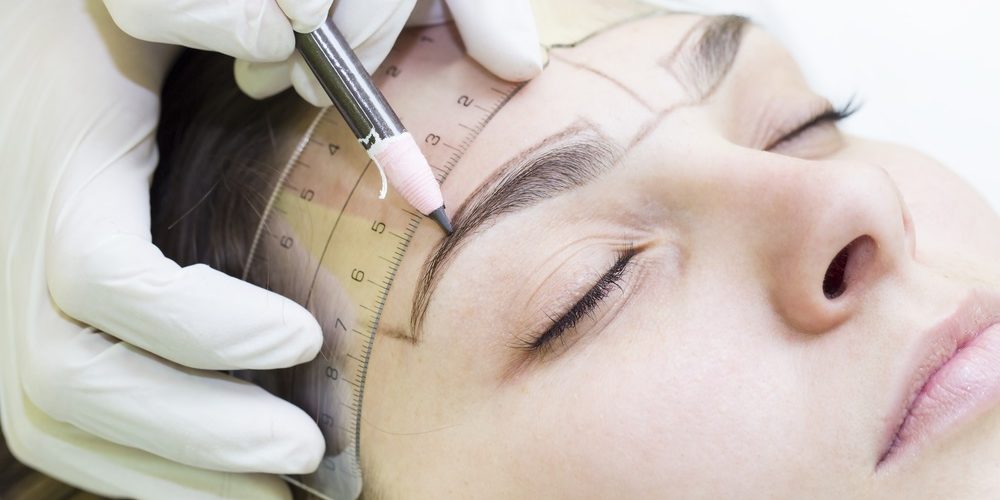
1. Getting your eyebrows drawn on
Before the technician busts out the tools, a little prep work is required to make sure that your new brows are just right. This process can sometimes take longer than the actual procedure itself, and involves having measures taken and your new eyebrows drawn on.
The technician will use this as a roadmap for your new look. It’s also your last chance to veto any ideas and adjust your needs. Don’t be afraid to speak up. After all, microblading is semi-permanent. The changes you make here will be with you for one to three years.
2. Choosing the right color
Once you’ve settled on a look, it’s time to choose a color that blends well with your skin and natural hair color. You might want lusciously dark brows, but it’s important that you heed your technician on this one. Your real brows will need to look natural overlaying the tattooed strands.
3. Minimizing pain and discomfort
After the prep is over and you and the technician have agreed on a look and color, it’s time to get down to business.
The technician starts by spreading a topical numbing cream on the area to be treated. You then have to wait about 30 minutes for the effects to fully kick in. You’ll be glad to know that partially thanks to this cream, microblading isn’t nearly as painful as it sounds.
4. Let the blading begin
Once the numbing cream has taken effect, the real work begins. The technician uses a hand tool that is often described as an X-acto knife with tiny needles attached. This knife is used to deposit ink in your skin as the technician makes tiny hair-like strokes across your brow. Unlike a tattoo, the ink remains just below the surface of the skin, which is why microblading results tend to fade within a couple years.
The process typically takes 1 – 2 hours, depending on the extent of the changes. The technician may take breaks or stop altogether if the skin becomes so inflamed as to jeopardize the quality of the end result.
Eyebrow Microblading Aftercare
Aftercare instructions may vary slightly depending on your technician. However, most places seem to agree on a few essentials to expedite the healing process. You will likely be instructed to keep an antibacterial ointment on your eyebrow tattoos for approximately 24 hours, followed by Vaseline or Aquaphor for one solid week. It’s essential that you keep the area hydrated but not wet, even when you wash your face.
Other things you’ll want to avoid for roughly one week include:
- Tanning or extreme sun exposure.
- Picking at the scabs. They will fall away naturally.
- Exercise (sweating opens the pores and can cause the ink to fade).
- Sleeping on your face.
- Swimming or taking long showers.
Related: 5 Eyelash Enhancement Techniques You Need to Try
As your brows heal, they may swell and redden. This is normal. Your eyebrows will also look darker at first, but the shade will change over time and eventually settle within a few weeks.
Most technicians will schedule you for 1 -3 follow up appointments. The first of these follow-ups will be once the healing is complete and the color has settled. The technician takes this opportunity to make adjustments. Depending on your needs, you may have another touch-up roughly three months afterward.
Microblading typically lasts between 1 and 3 years with the occasional touch-up. That’s up to 3 years with perfect, natural brows, which is none too shabby by any standard.