

- Some skin grafts come from other species, namely pigs, but these are typically temporary.
- When skin grafts heal, new blood vessel connections form to make the skin part of your body.
- The healing process is lengthy and it’s important to adhere to proper wound care.
What is a skin graft?
Skin grafts and skin transplants are medical procedures that involve taking skin from one part of the body — known as the donor site — and moving it to cover a burned or injured area in need of repair. The skin used can be harvested from a variety of donor sites and, once applied to the treatment site, promotes healing.
Depending on the type of injury, a medical professional may opt for one of two types of skin grafts: a split-thickness graft or a full-thickness graft.
In certain cases, skin grafts aren’t intended to be permanent. When damaged skin is able to heal itself, temporary grafts may be applied to protect exposed wounds from external factors, particularly bacteria. These grafts are removed when the underlying tissue has sufficiently repaired itself.
Why are skin grafts done?
The main purpose of skin grafts is to promote the healing of an injury, burn, or in certain cases illness. This healing is both practical, as it can improve health related outcomes, and cosmetic, as the post-injury appearance of the area can be improved.
Skin grafts are commonly associated with burn victims. Severely burned skin leads to fluid loss and damage to the immune system, not to mention the excruciating pain that burns cause victims.
Many burn victims who survived their initial incident pass away in hospital from their injuries. In these cases, the burned skin is essentially incapable of doing its job to protect the body. Grafted skin protects the body in a way the damaged skin simply no longer can.
The procedure can also help those with other skin related issues as well.
In 2015, Hassan, a 7-year-old boy with junctional epidermolysis bullosa (a disease that made his skin more delicate than paper), was saved using an experimental skin graft that combined traditional skin grafting techniques with gene therapy. The unprecedented procedure replaced more than 80% of his skin. Today, Hasan is reportedly playing sports when at one time a simple touch would have torn his skin.
Different types of skin grafts
Before we delve into what to expect during and after a skin grafting procedure, let’s explore some common types of skin grafts.Your experience with skin grafting may vary depending on the type of graft you receive.
Grafts are frequently categorized according to where the donor skin comes from. There are several terms used to describe donor skin sources:
- Autograft – Also known as an autologous graft, the skin comes from another location on the patient’s body. These have higher success rates as the skin is a clear genetic match.
- Allogeneic graft – Another person donates skin to the person in need.
- Xenograft – Also known as a xenogeneic graft, the skin comes from another species. Pigs are the animals of choice for xenografts. These grafts are always temporary.
- Laboratory grown – Skin cells are taken from either the patient or a donor to grow new skin in a laboratory setting.
- Prosthetic – These grafts are made out of synthetic materials.
Wherever the grafts come from, they can be further categorized by the nature and thickness of the skin removed. Which of these grafts is received depends on a variety of factors, such as the size and location of the wound.
- Full-thickness – The harvested skin includes the epidermis — the surface layer of the skin — and all of the dermis. It is less painful than the alternate split-thickness skin graft and tends to have a more natural and aesthetically pleasing end result. However, not as much skin can be harvested and grafts are more likely to be rejected than with split-thickness grafts. Full-thickness is most often used for smaller locations with more cosmetic concerns, like the hands and face.
- Split-thickness – The harvested skin includes the epidermis and part of the dermis. These grafts can be further categorized as thin, intermediate, or thick, based on how much — in thousandths of an inch — of the dermis is taken. They can be stretched, or “meshed,” to increase their surface area up to nine times the original size. These grafts tend to contract over time, making them less aesthetically pleasing. Split-thickness is used for larger areas and avoided when it comes to joints and other places where contraction of the skin can impede movement.
- Composite – The harvested skin includes underlying cartilage. For example, someone might get a composite graft from their ear to treat a wound on their nose. The cartilage is used to add form during the reconstructive process.
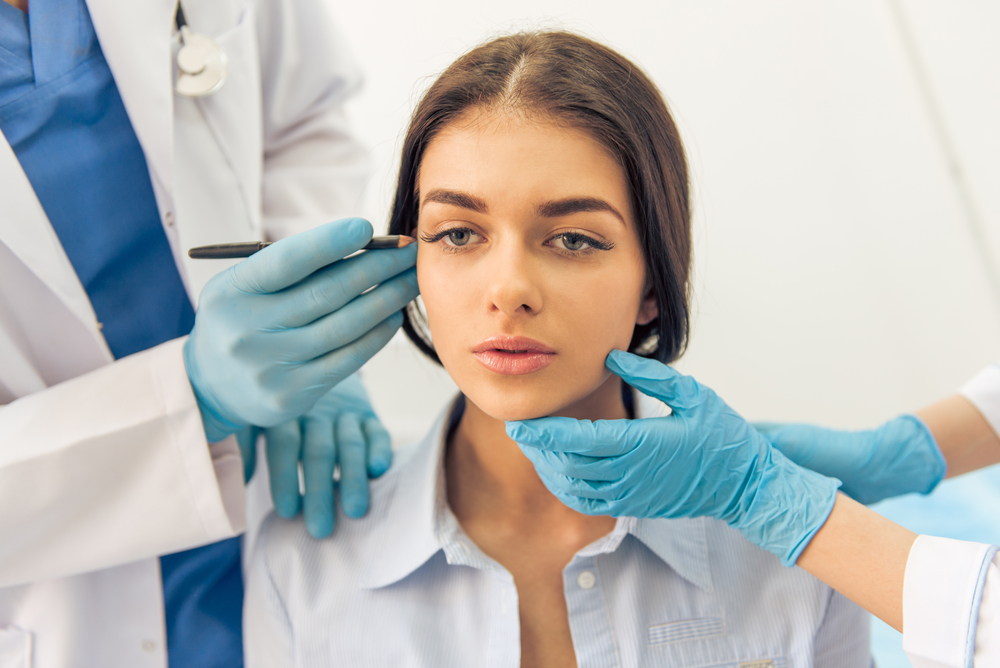
How is a skin graft procedure done?
Your plastic surgeon will choose the type of skin graft and the donor site (e.g. where to take the skin from). Donor sites are usually places that are easily concealed, like the thigh or scalp. Surgeons may also take skin from the buttocks, back, and arm.
The wound site is thoroughly prepared. This includes removing any damaged skin in the area — a process called debridement — and ensuring that the area is sufficiently free of bacteria. If necessary, the area will be treated with antibiotics. This process is particularly important as improper wound preparation can lead to hematoma (bleeding) and wound infection, two common causes of skin graft failure. Finally, the area is cleaned using saline, and any bleeding is stopped.
Healthy skin is typically harvested using a dermatome, a handheld device that strips away an even layer of skin for later application. Smaller areas that need a more refined touch may be harvested by hand or by a drum dermatome.
After the skin is removed, the donor site is dressed and treated according to whether it was a split or full thickness graft. Full thickness graft donor sites will be sutured closed. Split-thickness skin graft donor sites will be dressed and left to heal via reepithelialization (more on this below).
The removed skin is then applied to the wound site with sutures. Often a suture is woven along the edges in a technique known as “purse-string closure.” This is said to have a better cosmetic outcome, but not all of the research agrees. Use of this technique may depend on the size, shape, and location of the wound.
If it is a split-thickness graft, the skin will likely be processed through a skin mesher before being applied. This stretches out the skin and gives it a meshed appearance. In this way, more surface area can be covered with less harvested skin. The holes in the meshed skin also allow fluids to escape, preventing graft failure due to hematoma under the skin.
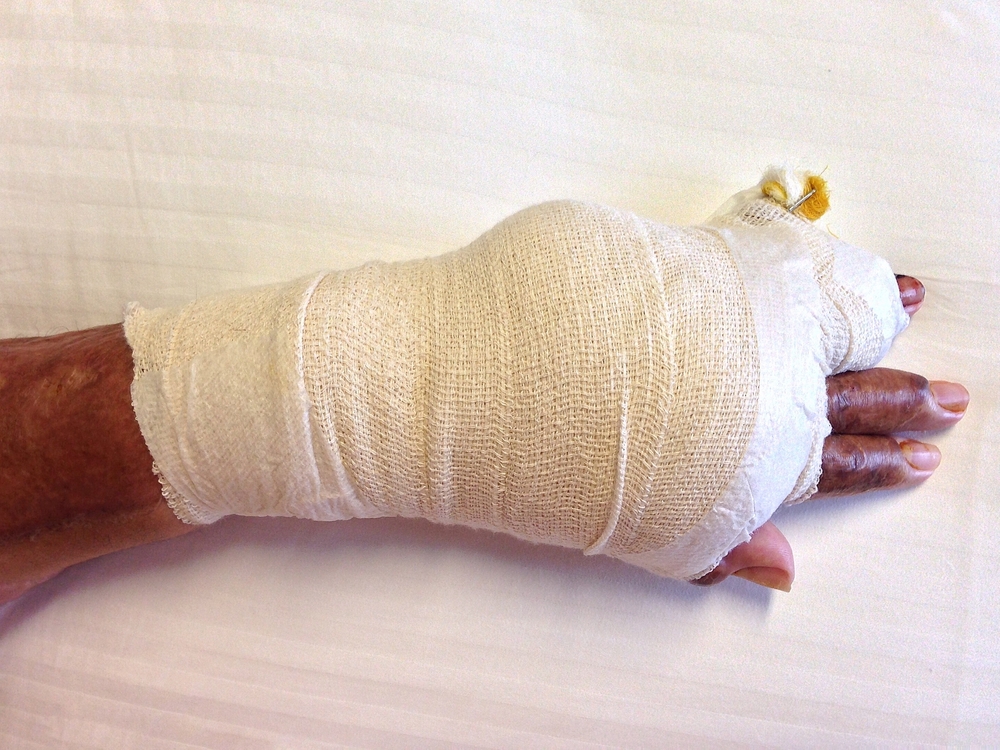
After the graft is secured, a dressing is applied. The dressing keeps the site clean while also applying uniform pressure. This immobilizes the graft and promotes the healing process, which we will discuss in more detail below. If the wound is in a place where movement is difficult to avoid, a tie-over bolster dressing may be applied, using moist cotton balls underneath the dressing to allow for movement.
What is the recovery time for a skin graft?
Your initial dressing will be left on for three days to a week, barring any signs of complication. During this time, the grafted skin will begin to heal to your existing skin and “take” to your body. The treated site goes through the process of accepting this new skin over a series of steps:
- Fibrin Adhesion – A thin fibrous network adheres the graft to the surrounding skin. This temporarily holds it in place as the graft heals.
- Plasmatic imbibition – The wound bed beneath the new skin will send nutrients up toward the new skin, nourishing it. This lasts for a day or two. It keeps the skin from drying out as it takes to your body.
- Capillary growth and inosculation – This is known collectively as revascularization. Basically, your capillaries will grow, making the new skin one with the rest of your body. In just shy of a week after the surgical procedure, you should have blood flow established between the new skin and your body.
While all of this is going on, you may also have a donor site going through its own healing process. If your autograft was split-thickness, then the donor site is undergoing reepithelialization. There are hair follicles and glands left behind in the remainder of the dermis. Epithelial cells from these components spread across the wound and begin to rebuild the skin. This takes roughly seven to ten days.
Of course, none of this means you’ll be fully healed in just one week. Skin graft healing is a lengthy process. You’ll go through several dressings and could be waiting for months before you’re fully healed.
During this time, there are some steps you should take to ensure a successful graft. Just because the graft “took” doesn’t mean that you’re out of the woods.
What are the possible complications of a skin graft?
Skin grafting comes with the usual complications associated with major surgery. Infection is a constant concern given the amount of exposed tissue involved in wounds that would merit skin grafts. Scarring too should come as no surprise, although the severity of the scarring will depend on the size and type of the graft. The lengthy recovery time also puts patients at a high risk of postoperative depression.
Skin grafting comes with a host of more unusual complications, some of which are unique to the procedure.
- Graft Rejection – If you receive a graft from another person, you will be given immunosuppressants to prevent your body’s immune system from attacking the new tissue. However, sometimes the immune system wins out. Your body can reject the foreign tissue and the graft will never “take.”
- Graft vs. Host Disease (GvHD) – This is essentially the same thing as graft rejection, only in the reverse. In this case, the grafted tissue rejects your body and the white blood cells in it attack you. GvHD can happen in other circumstances too, like bone marrow transplants and blood transfusions.
- Graft Failure – The graft doesn’t take. It becomes necrotic (rots) before blood flow is established to maintain it.
- Hematoma – Blood pools under the skin. Meshing typically helps to prevent this. In the event a hematoma forms under a graft, a surgeon may create an incision to drain the fluid from beneath the new skin.
- Increased or Decreased Sensitivity – The skin graft site may be less sensitive or sensitivity may increase. In very rare cases it can result in chronic pain.
To ensure that your graft is healing well, it’s important to follow your plastic surgeon’s instructions and take care of your new skin.
What are the aftercare instructions for a skin graft?
The more extensive your grafting, the longer your road to recovery. However, it will be lengthy even for minor skin grafts. Following your surgeon’s instructions is imperative if you don’t want to make the process even longer by having to go back for a new skin graft.
The specifics of your postoperative self-care will depend on your unique situation. It’s also worth noting that if you received an autograft you then have two wounds to attend to, the donor site and the recipient site. Note that the following are just general guidelines.
- Take prescribed medications – You will be given pain medication, don’t wait for the pain to become unbearable before you take it. You’ll also receive antibiotics. Take the full course of antibiotics. Notify your doctor if you lose or forget to take some of them.
- Rest – Depending on the size of the graft, you could be resting in the hospital for awhile. However, most patients are allowed to go home to rest. In this case, there’s no need to stay confined to your bed, but you should avoid moving the recipient site too much. Don’t exercise until it’s been approved by your surgeon.
- Keep dressings clean and dry – Avoid getting the recipient site wet until cleared by your doctor. After the initial dressings are removed, you’ll likely be able to wash the graft with soap and water. Be extremely gentle. Avoid showers because the stream of water may be too harsh for the graft. If taking a bath, avoid fully submerging the graft. Dry the site completely before dressing it with sterile gauze.
- Avoid direct contact with the sun – You will need to do this for approximately six months in order to reduce scarring and skin discoloration.
- Go to all your follow-up appointments – Your surgeon will want to see you again for a reason. Going to follow-ups can help to avoid complications as your surgeon may notice issues that are not be immediately obvious to you.
If you have a donor site wound for a full-thickness graft, you’ll likely be instructed to remove your bandages after the first week. Do not remove the surgical tape. Just as with the recipient site, you’ll want to wash the location gently. However, unlike the recipient site, you can wash it in the shower. The surgical tape will likely fall away on its own, but you can remove it after a few weeks with your surgeon’s approval.
The donor site for a split-thickness graft is a little trickier. During reepithelialization, the wound is likely to get very moist. This is sometimes referred to as the “wet phase.” Your wound should be bound in absorbent dressings. Your surgeon may instruct you to take a hairdryer to the dressings (without removing them) or sit in front of a fan a few times a day. Eventually, the wound will enter the “dry phase” and be dressed more lightly.
When to call your surgeon
Early on, your wound will be dressed, so you’re unlikely to spot a problem. However, if your dressings come off prematurely or there’s some trauma to the wound, contact your surgeon.
When the dressings do come off, keep an eye out for signs of infection. Purulent discharge, painful inflammation, red streaks, and fever are all tell-tale signs of infection. You should also examine the graft. If the edges of the graft are lifting or you notice any bulges beneath the skin, you’ll want to talk to someone as soon as possible.
If you feel concerned about the state of your skin graft, meet our board-certified medical review team and seek their professional advice.